Arduino Datatypes and Variables
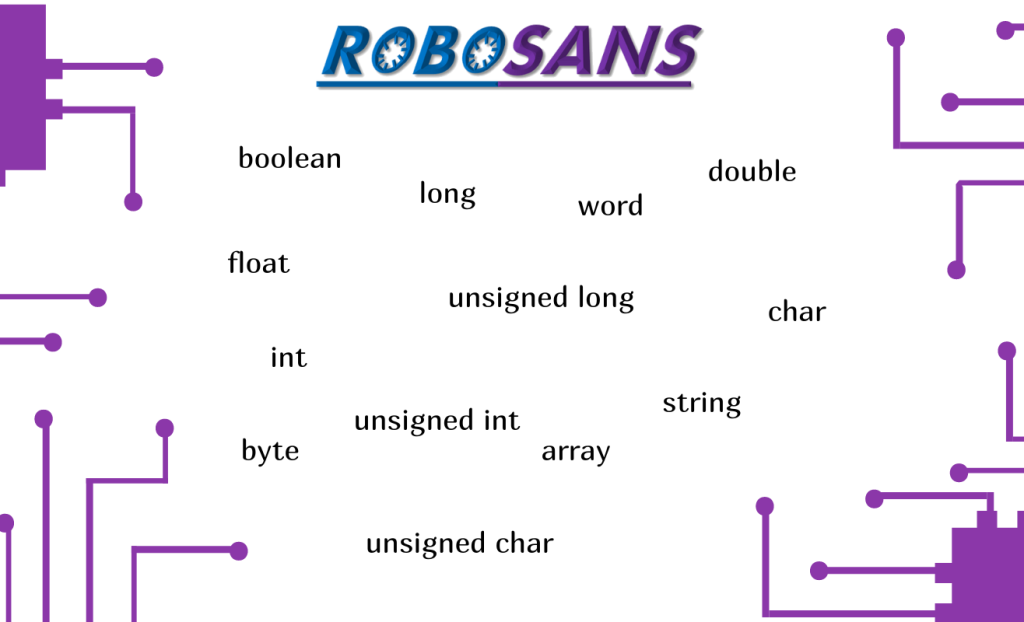
Learn Arduino functions and data types: byte, boolean, int, unsigned int, byte, word, long, unsigned long, float, char, unsinged char, array, and string.
Arduino Datatypes and Variables Read Post »
Learn Arduino functions and data types: byte, boolean, int, unsigned int, byte, word, long, unsigned long, float, char, unsinged char, array, and string.
Arduino Datatypes and Variables Read Post »
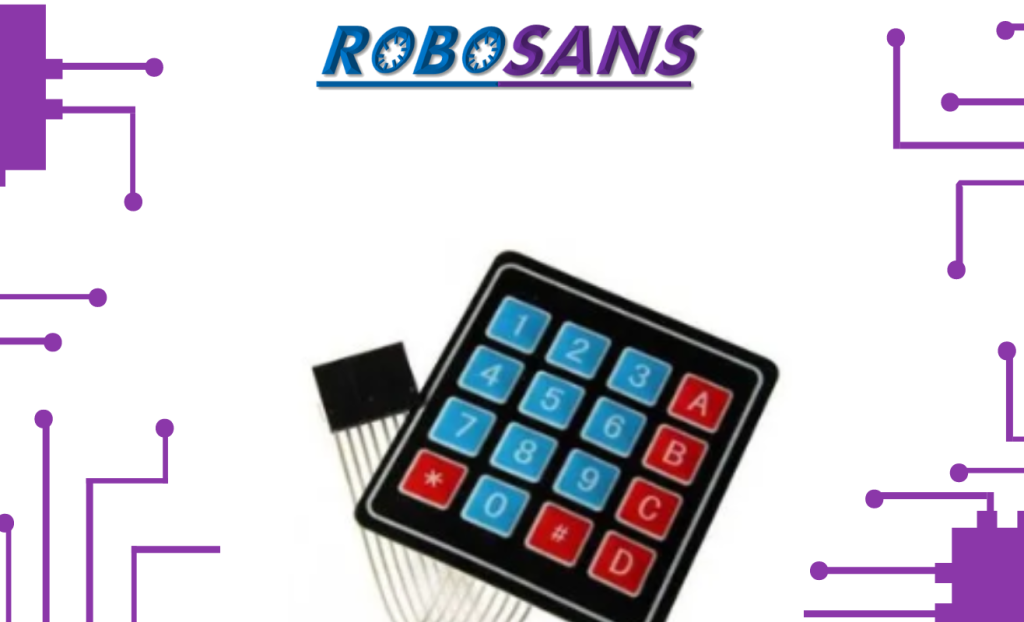
Are you overwhelmed with so many tutorials and guides that take about 4×4 keypad Arduino? Don’t worry, in this comprehensive guide you will
4×4 Keypad Arduino Code, Pinout & Interfacing Complete Guide Read Post »

This display is used in many applications that we see in our life such as calculators, digital clocks, and much
Learn how to Interface 7 Segment Display with Arduino Read Post »

Are you struggling to figure out how 16×2 LCD interfacing with Arduino? Don’t worry, in this tutorial you will learn
16×2 LCD Interfacing with Arduino including the code Read Post »

Learn how to connect Arduino with digital temperature sensor, what is Elegoo sensor module, and how to create Arduino based digital thermometer
Arduino Digital Temperature Sensor Read Post »
The DHT11 sensor is low-cost Temperature and Humidity sensor that is ideal for hobbyists and prototyping applications. The DHT11 temperature sensor range: 0 – 50°C (±2°C) and DHT11 humidity sensor range: 20-80% (±5%). Its Supply voltage: 3 to 5.5V. DHT11 sensor uses a OneWire protocol. It integrates a thermistor and a capacitive humidity sensor. An integrated ADC converter converts the measured values into a digital signal, which is then output via the OneWire interface.
DHT11 Humidity and Temperature Sensor Read Post »
The photoresistor or LDR (Light Dependent Resistor) is a light-sensitive semiconductor element that changes its resistance value according to the intensity of the light: the higher the light intensity on the sensitive surface of the LDR, the smaller its resistance value becomes.
Arduino Photoresistor Read Post »
The 5V Arduino Boards reads and processes analog signals in a voltage range from 0 to 5 volts. The microcontroller of the Arduino board has an internal Analog-to-digital converter (ADC) for processing the analog input signals. The Arduino Uno, for instance, has six analog channels, in which six analog voltages (i.e. sensors) can be processed in parallel. The ports available for this purpose are labeled A0 to A5 on the Arduino Uno
Arduino digital pins know only two states: HIGH voltage (1’s) and LOW voltage (0’s), where 1 corresponds to a voltage of 5 volts and 0 to a voltage of 0 volts. The signals to be read in at the digital inputs come from other digital circuits such as push-button or limit switch, or sensors with digital outputs.